Tip: Exporting a formatted PNR as an image
See how you can export a PNR as an image, being ready to send it by email, WhatsApp, Messenger, etc.

EasyPNR is a free tool for formatting and converting PNR, supporting Amadeus, Sabre and Travelport GDS systems.
Once formatted, the PNR can be copied or exported to different formats, getting ready to be used.
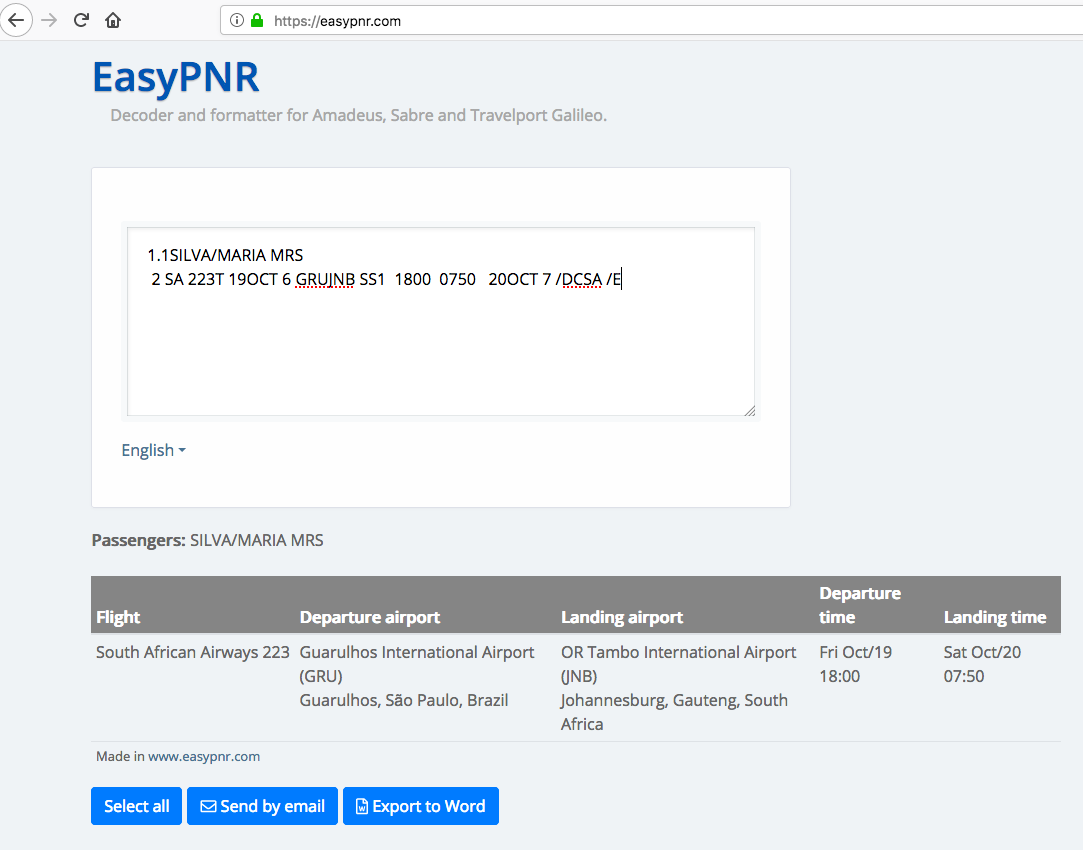
Just paste in EasyPNR to get the PNR decoded.
Some time ago, EasyPNR had buttons to export PNR as an image, but we noticed users are not using it too much, and we removed it since.
The button was removed but it's still very easy to export the PNR as an image. If you are a Windows user, after having a decoded PNR, you can export it using the Snipping Tool.
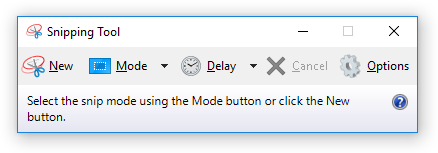
The Snipping Tool interface. Snipping Tool is a screenshot utility included in Windows Vista and later, and it's located on Program/Accessories menu.
How to do it
- On Windows, open the Snipping Tool. Usually, it is located on Program/Accessories but you can also find using the Windows Search located close to the Start menu.
- On the Snipping Tool, click on the New button.
- Select the area you want to copy and click. The tool will show the captured image.
- Click on Copy to clipboard button.
- Done! Paste it on wherever you want to.
See how to do it
Now you can paste it into an email, WhatsApp, Facebook Messenger or any other communication channel you use. You can also save it to your computer clicking on Save on the Snipping Tool.
Easy, no? 😄